Nut-Free Pesto Recipe – Delicious & Easy Allergy-Friendly
Nut free pesto is a game-changer for so many kitchens, and I’m so excited to share my foolproof recipe with you today. For years, I’ve watched loved ones miss out on the vibrant flavors of traditional pesto due to nut allergies, and it always felt like a culinary injustice. This nut free pesto captures all the bright, herbaceous goodness you expect, without any of the allergens. It’s the perfect way to bring that classic Italian taste to your table, whether you’re serving it with pasta, as a dip, or slathered on a sandwich. What makes this nut free pesto truly special is its incredible versatility and the way it opens up delicious possibilities for everyone. Get ready to discover your new go-to sauce!
Delicious Nut-Free Pesto: A Versatile Allergy-Friendly Delight
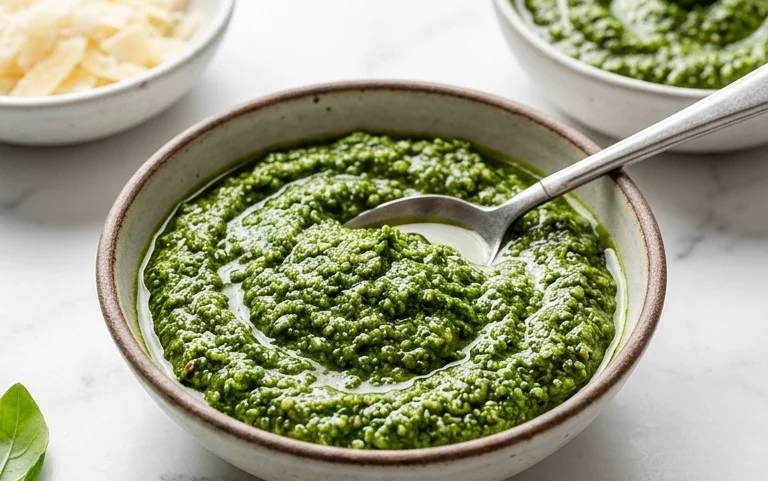
When you think of pesto, you likely picture that vibrant green sauce bursting with fresh basil and, of course, pine nuts. But for those with nut allergies, or when you simply want to offer a more inclusive option, the classic pesto is off the table. Fear not! Today, we’re diving into a truly delicious and incredibly versatile nut-free pesto recipe that everyone can enjoy. This recipe captures the essence of traditional pesto – its bright, herbaceous flavor and rich texture – without any of the allergenic nuts. It’s perfect for pasta, spreading on sandwiches, drizzling over roasted vegetables, or even as a dip. Get ready to elevate your meals with this simple yet sensational sauce.
This nut-free version is not only safer for many households, but it also allows the fresh, pure flavors of the basil and Parmesan to truly shine. The absence of nuts means a cleaner, brighter taste profile that can be surprisingly refreshing. I’ve found that this pesto is incredibly forgiving and adaptable, making it a staple in my kitchen for quick weeknight dinners and impressive entertaining alike. Let’s get started on creating this culinary gem!
Ingredients:
Preparing Your Pesto: Step-by-Step
This pesto recipe is incredibly straightforward, and the beauty of it lies in its simplicity. You can make it by hand with a mortar and pestle for a truly rustic texture, or for a quicker and smoother result, a food processor or blender works wonders. I usually opt for my food processor as it’s fast and efficient, but a good old-fashioned manual approach can be very rewarding. Let’s break down the process.
Step 1: Prepare the Basil
Start by thoroughly washing your fresh basil. Gently separate the leaves from the stems. While you can technically include some tender stems, it’s best to stick to just the leaves for the smoothest and most flavorful pesto. Give the basil leaves a good rinse under cool water and then gently pat them dry with a clean kitchen towel or use a salad spinner to remove excess moisture. Excess water can dilute the flavor of your pesto and make it watery, so don’t skip this drying step! Once dry, loosely pack about 2 cups of basil leaves into your food processor. Don’t be afraid to really pack them in there – basil shrinks down considerably once it’s processed.
Step 2: Add the Aromatics and Cheese
Next, it’s time to introduce the garlic. Add your 2 peeled garlic cloves to the food processor with the basil. Garlic is a powerful flavor, so start with 2 cloves; you can always add more if you prefer a stronger garlic punch. Now, it’s time for the star of the cheesy show: the freshly grated Parmesan cheese. Measure out 1/2 cup of your finely grated Parmesan. Using freshly grated cheese is crucial here; pre-grated cheeses often contain anti-caking agents that can affect the texture and flavor of your pesto. The combination of basil and Parmesan is classic for a reason, creating a wonderfully savory base.
Step 3: Process the Basil Mixture
With all the solid ingredients in the food processor, it’s time to start pulsing. Begin extract by pulsing a few times to roughly chop the basil and garlic. You want to break everything down into smaller pieces before adding the oil. After a few initial pulses, you’ll want to process until the basil and garlic are finely chopped and the mixture starts to become a bit paste-like. You might need to stop the processor and scrape down the sides with a spatula a few times to ensure everything is evenly incorporated and processed. Don’t over-process at this stage; we’re just getting the foundational elements broken down.
Step 4: Incorporate the Olive Oil
Now for the luscious olive oil. While the food processor is running on a low speed, slowly drizzle in the 1/4 cup of olive oil. Pouring the oil in a thin, steady stream helps to emulsify the pesto, creating a smooth, cohesive sauce. Continue to process until the olive oil is fully incorporated and the pesto has reached your desired consistency. Some people prefer a chunkier pesto, while others like it very smooth. You can control this by how long you continue to process. For a smoother pesto, keep it running a little longer. For a slightly more rustic texture, stop a bit sooner.
Step 5: Season and Finalize
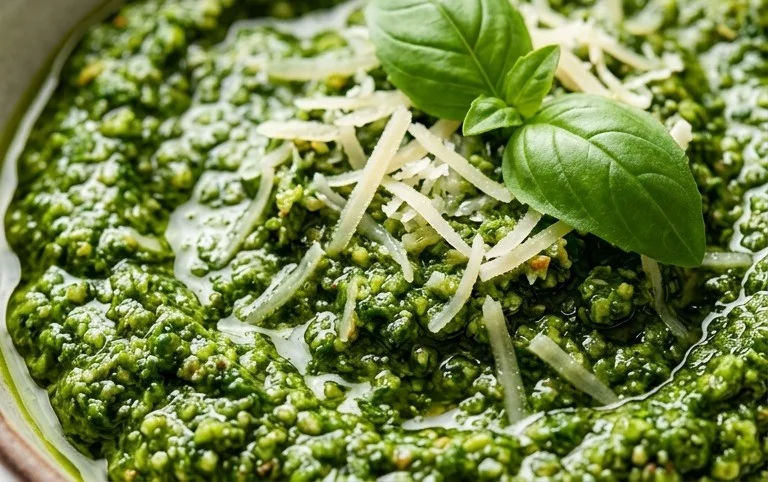
The final step is to season your beautiful nut-free pesto. Add the 1/4 teaspoon of salt and the 1/8 teaspoon of pepper to the food processor. Pulse a few more times to evenly distribute the salt and pepper throughout the pesto. Taste your pesto and adjust the seasoning if needed. Perhaps you want a little more salt to enhance the flavors, or a touch more pepper for a subtle kick. Remember that the Parmesan cheese is already salty, so taste before adding too much extra salt. Once you’re happy with the seasoning, give it one last quick pulse. Your vibrant, delicious nut-free pesto is now ready to be enjoyed!
This nut-free pesto is a revelation. It’s quick to make, incredibly flavorful, and wonderfully inclusive. Store it in an airtight container in the refrigerator for up to a week, or freeze it in ice cube trays for smaller, individual portions that are perfect for whenever inspiration strikes. Enjoy experimenting with all the ways you can use this versatile sauce!
Conclusion:
I hope you’re as excited to try this nut free pesto recipe as I am to share it! It’s truly a fantastic way to enjoy the vibrant, fresh flavors of traditional pesto without any of the common allergens. The beauty of this recipe lies in its simplicity and adaptability, making it perfect for everyone, from those with nut allergies to anyone simply looking for a delicious and versatile sauce. I’ve found it elevates everything from pasta to grilled vegetables, and I can’t wait for you to discover your own favorite ways to use it. Don’t be afraid to experiment with the herbs and greens; this nut free pesto is incredibly forgiving and encourages culinary creativity!
For serving, imagin extracte tossing it with your favorite pasta, spreading it on a sandwich, dolloping it onto grilled chicken or fish, or even mixing it into a creamy dip. The possibilities are truly endless. If you want to switch things up, consider adding a pinch of red pepper flakes for a little heat, or substituting basil with a blend of spinach and parsley for a milder flavor. Give this nut free pesto a go – you might be surprised at how easy and rewarding it is!
Frequently Asked Questions:
Can I freeze this nut free pesto?
Yes, absolutely! This nut free pesto freezes beautifully. You can portion it into ice cube trays for convenient single servings, or store larger amounts in airtight containers or freezer bags. For best results, pour a thin layer of olive oil over the top before freezing to prevent oxidation. It should last for up to 3-4 months in the freezer.
What if I don’t have pine nuts? What’s the best substitute?
Since this is a nut free recipe, we’re not using pine nuts. Instead, we’re relying on sunflower seeds (which are technically seeds, not nuts) or pepitas (pumpkin seeds) to provide that essential texture and richness. If you have a seed allergy or simply don’t have them on hand, you can try using toasted white beans or even a small amount of rolled oats pulsed until fine. However, sunflower seeds are generally the most successful substitute for that classic pesto mouthfeel.
How long does this pesto last in the refrigerator?
When stored properly in an airtight container in the refrigerator, this nut free pesto should last for about 5-7 days. It’s always a good idea to top it with a thin layer of olive oil before sealing the container, as this helps to preserve its freshness and vibrant green color by preventing exposure to air. If you notice any discoloration or off smells, it’s best to discard it.
Nut-Free Pesto
A classic pesto recipe made without nuts, perfect for those with allergies or for a lighter flavor.
Ingredients
-
2 cups fresh basil
-
2 garlic cloves
-
1/2 cup freshly grated Parmesan cheese
-
1/4 cup olive oil
-
1/4 teaspoon salt
-
1/8 teaspoon pepper
Instructions
-
Step 1
Wash and thoroughly dry the fresh basil leaves. -
Step 2
Peel and roughly chop the garlic cloves. -
Step 3
Combine basil, garlic, Parmesan cheese, salt, and pepper in a food processor. -
Step 4
Pulse the ingredients until coarsely chopped. -
Step 5
With the food processor running, slowly drizzle in the olive oil until the pesto is smooth and well combined. -
Step 6
Taste and adjust seasoning if necessary.
Important Information
Nutrition Facts (Per Serving)
It is important to consider this information as approximate and not to use it as definitive health advice.
Allergy Information
Please check ingredients for potential allergens and consult a health professional if in doubt.