Easy Peach Freezing – Preserve Summer Flavor
Freezing peaches, how to easily freeze peaches is a skill that will bring sunshine into your kitchen all year round! There’s nothing quite like the sweet, juicy burst of a perfectly ripe peach. Whether you’re dreaming of summer cobblers in the dead of winter, whipping up a vibrant smoothie on a chilly morning, or adding a taste of sunshine to your morning oatmeal, having frozen peaches on hand is an absolute game-changer. We all love peaches for their unparalleled freshness and delightful texture, and this simple freezing method ensures that those qualities are preserved, making them just as delicious as the day they were picked. What truly makes freezing peaches so special is the ability to capture that fleeting peak ripeness, saving you from the inevitable disappointment of overripe fruit or the yearning for that summer flavor when it’s out of season. It’s an easy way to extend that glorious peach season indefinitely!
Ingredients:
Freezing Peaches: How to Easily Freeze Peaches
There’s nothing quite like the taste of fresh, ripe peaches. They are a quintessential summer fruit, bursting with sunshine and sweetness. While we all love enjoying them in season, the fleeting nature of peach season can be a bit disheartening. But what if I told you there’s a way to capture that summery peach flavor and enjoy it all year round? Freezing peaches is the answer, and it’s surprisingly easy! Whether you’ve ended up with a bumper crop from your own tree, scored a fantastic deal at the farmer’s market, or simply want to preserve that peak-season goodness for future pies, cobblers, smoothies, or even just to eat straight from the freezer (they’re delicious that way too!), this guide will walk you through the simple steps. We’re going to keep things straightforward and effective, ensuring your frozen peaches retain their vibrant color and delicious flavor.
This method focuses on preserving the natural sweetness and texture of the peaches, with just a touch of sugar to help with preservation and a fantastic fruit protector to keep them looking their best. No complicated blanching or syrup-making needed here – just simple, effective steps to fill your freezer with peachy goodness.
Preparing Your Peaches for Freezing
The first and most crucial step is selecting the right peaches. For freezing, you want to use ripe, but not overly soft, peaches. They should yield slightly to gentle pressure, indicating they are sweet and flavorful. Overripe peaches can become mushy when frozen and thawed. If you happen to have some that are just a little too soft for eating out of hand, they can still be perfect for freezing for smoothies or purees.
Washing and Peeling
Begin extract by gently washing your peaches under cool running water. This removes any dirt or residue. Now comes the peeling. There are a couple of easy methods for this. The quickest way for ripe peaches is to use a sharp paring knife and carefully peel away the skin. For slightly firmer peaches, or if you want to speed things up, you can use the blanching method. To do this, score an “X” on the bottom of each peach with your knife. Then, carefully lower the peaches into boiling water for about 30-60 seconds, until the skins begin extract to loosen. Immediately transfer them to a bowl of ice water. Once they’ve cooled, the skins should slip off with ease. Don’t worry if a few stubborn bits remain; you can always go back with your paring knife to clean them up.
Pitting and Slicing
Once your peaches are peeled, it’s time to remove the pit. Slice each peach in half along the natural seam. Gently twist the halves to separate them. The pit should be readily accessible. You can then carefully pry it out with your fingers or use a small spoon to scoop it away. Discard the pits. Now, decide how you want to slice your peaches. For most uses, slicing them into wedges or rings about ½ inch thick works wonderfully. This size is versatile for baking, cooking, and eating as is. You can also dice them if you prefer smaller pieces for things like cobblers or certain smoothies.
The Freezing Process: Sweetening and Protecting
With your peaches prepped and ready, it’s time to add the sugar and fruit protector. This step is essential for both flavor and quality. The sugar not only adds a touch of sweetness but also helps to draw out some of the moisture from the peaches, which aids in preventing ice crystal formation and preserves their texture. The fruit protector is a fantastic ingredient that helps to prevent browning, keeping your frozen peaches looking as vibrant and appealing as the day you froze them.
Here’s how we’ll bring it all together:
1. In a large bowl, gently combine your sliced or diced peaches with the sugar. Toss them carefully to coat each piece evenly. You want to ensure every peach slice gets a touch of sweetness. Don’t overmix, as this can bruise the delicate fruit.
2. Next, sprinkle the Fruit Protector over the sugared peaches. Again, gently toss to distribute the protector evenly. This might seem like a small amount, but Fruit Protector is quite concentrated and very effective. It’s designed to work its magic in preventing that unappetizing brown discoloration that can happen when fruit is exposed to air during freezing.
3. Now comes the important part of preparing them for their journey into the freezer. You want to freeze them in a way that prevents them from clumping together into a solid, unmanageable block. This is where the “dry pack” or “tray pack” method comes in handy.
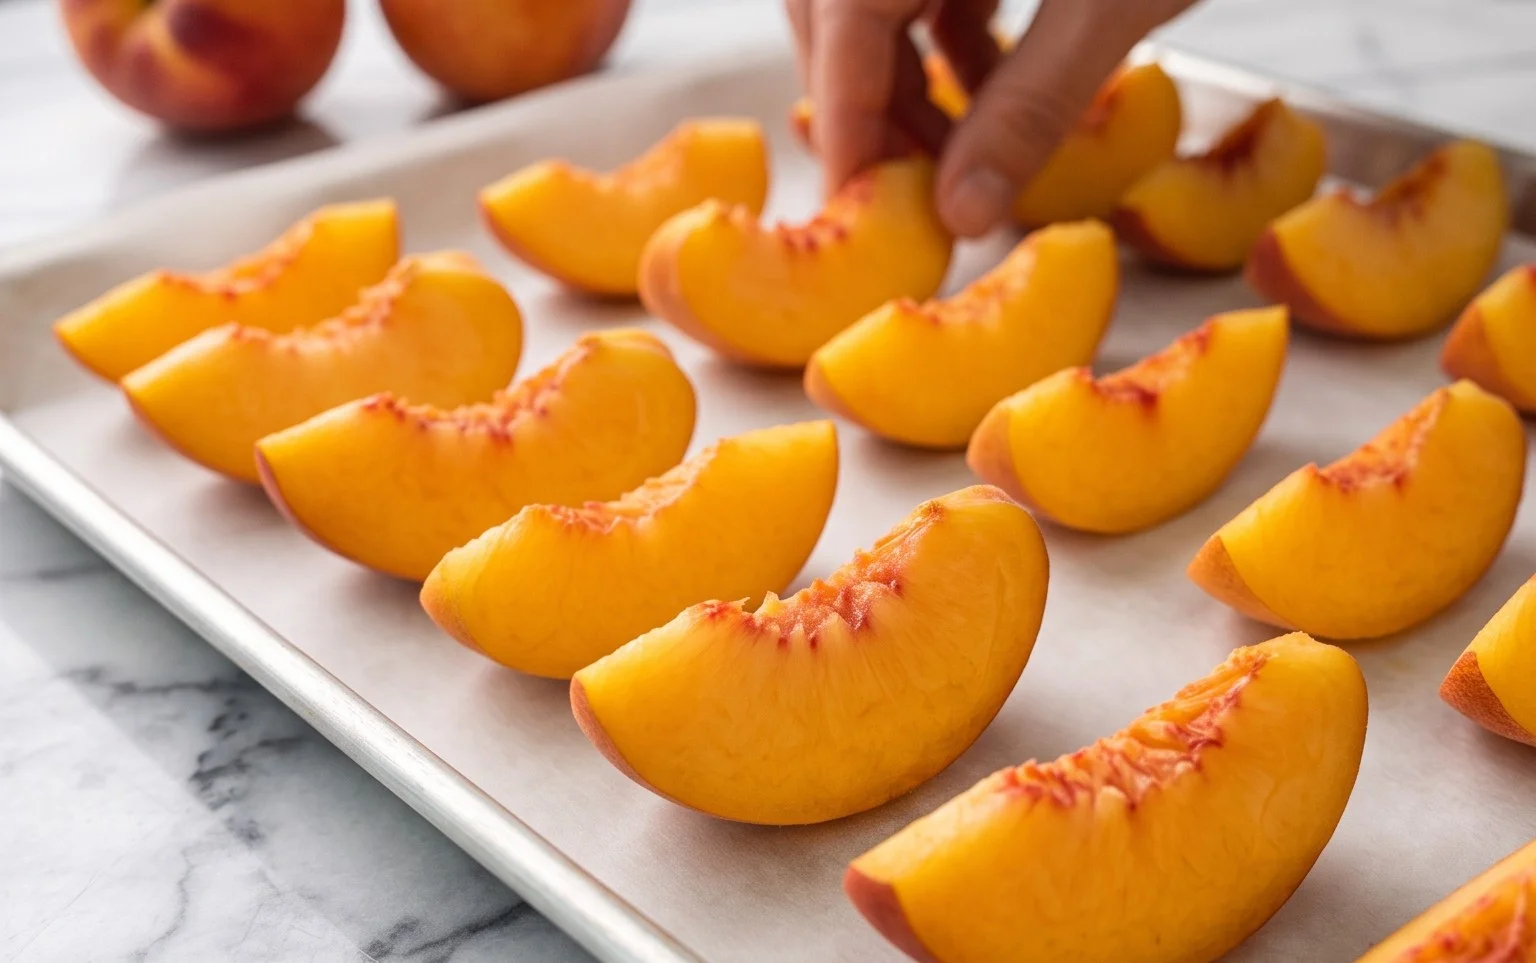
4. Arrange the sugared and protected peach slices in a single layer on a baking sheet lined with parchment paper. Make sure the slices are not touching each other too much. This allows for individual freezing. If they are piled on top of each other, they will freeze into a large clump.
5. Carefully place the baking sheet into your freezer. Let the peaches freeze until they are solid, which usually takes about 1-2 hours. You’ll know they’re ready when they feel firm to the touch and don’t easily separate.
Packagin extractg for Long-Term Storage
Once your peaches are individually frozen, it’s time to package them for long-term storage. This step is crucial for maintaining their quality and preventing freezer burn.
1. Remove the baking sheet from the freezer. The individual peach slices should now be firm.
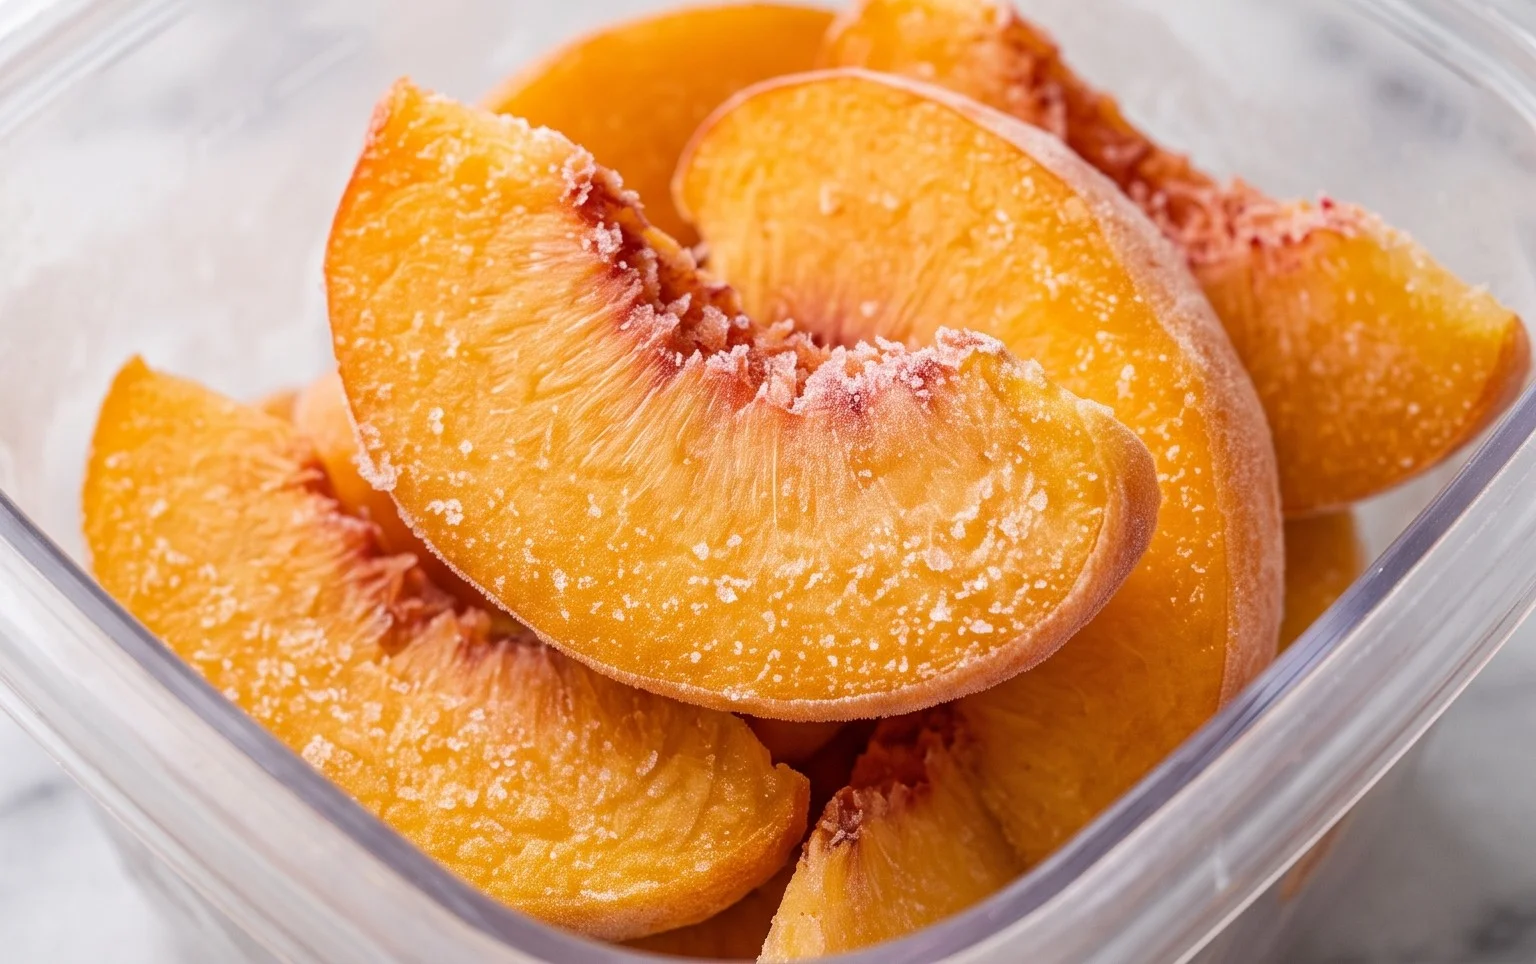
2. Gently transfer the frozen peach slices from the baking sheet into freezer-safe bags or airtight containers. If you’re using freezer bags, press out as much air as possible before sealing them. This is very important for preventing freezer burn, which can degrade the quality and flavor of your frozen fruit. Removing air is one of the best ways to ensure a long shelf life for your frozen goodies.
3. Label each bag or container with the contents (“Frozen Peaches”) and the date you froze them. This will help you keep track of your stash and ensure you use the oldest batches first.
These beautifully frozen peaches can be stored in your freezer for up to 10-12 months. When you’re ready to use them, you can thaw them in the refrigerator, use them directly from frozen in smoothies, or add them to your favorite recipes. Enjoy the taste of summer, anytime you desire!
Conclusion:
Freezing peaches is such a fantastic way to capture that summer sweetness for enjoyment year-round! This method ensures your peaches retain their vibrant flavor and texture, making them just as delicious in the depths of winter as they are when picked fresh from the tree. Imagin extracte the delight of pulling out a bag of perfectly frozen peaches to whip up a quick smoothie, a warm cobbler, or even a refreshing sorbet. The ease of this technique means you can stock up during peak season without any fuss, preserving the bounty of your harvest or a great deal at the market. So, don’t hesitate! Give this simple freezing peaches method a try and experience the joy of having summer on hand whenever you crave it.
Consider these delicious serving suggestions: blend them into smoothies, bake them into pies and crum extractbles, or simply thaw and enjoy them with yogurt. For variations, try adding a squeeze of lemon juice before freezing to prevent browning and enhance their natural tang, or even toss them with a pinch of cinnamon for a hint of warmth.
Frequently Asked Questions about Freezing Peaches:
Can I freeze peaches with the skin on?
While you can freeze peaches with the skin on, it’s generally not recommended for the best texture and ease of use. The skin can become tough and slightly chewy after freezing and thawing. It’s much easier to peel them before freezing, ensuring a smoother result for all your recipes.
Will my frozen peaches be mushy when thawed?
Some texture change is natural, but this method aims to minimize it. By properly preparing and freezing them, the peaches should retain a good portion of their firmness. They might not be as crisp as fresh, but they will be far from mushy, making them ideal for cooked dishes and blended items.
How long can I store frozen peaches?
When stored properly in an airtight container or freezer bag, your frozen peaches can last for about 8-12 months. For the best quality, it’s always a good idea to use them within a year. Labeling your bags with the date you froze them can be very helpful!
Freezing Peaches, How to Easily Freeze Peaches
A simple and effective method for preserving fresh peaches by freezing them, ensuring you can enjoy their sweetness year-round.
Ingredients
-
1 quart peaches, ripe and washed
-
2/3 cup sugar
-
3 teaspoons fruit protector
-
1 tablespoon lemon juice
-
1/2 teaspoon ascorbic acid
-
Water, as needed
Instructions
-
Step 1
Wash the peaches thoroughly under cool running water. -
Step 2
Blanch the peaches in boiling water for about 30 seconds, then immediately plunge them into ice water to stop the cooking. This makes peeling easier. -
Step 3
Peel, pit, and slice the peaches into desired sizes. Discard any bruised or soft spots. -
Step 4
In a large bowl, gently toss the sliced peaches with the sugar, fruit protector, lemon juice, and ascorbic acid until evenly coated. If using dry ascorbic acid, dissolve it in a small amount of water first. -
Step 5
Pack the treated peach slices into freezer-safe containers or bags, leaving about an inch of headspace for expansion. -
Step 6
Remove as much air as possible from the containers or bags, then seal them tightly. -
Step 7
Label the containers with the date and contents, then place them in the freezer.
Important Information
Nutrition Facts (Per Serving)
It is important to consider this information as approximate and not to use it as definitive health advice.
Allergy Information
Please check ingredients for potential allergens and consult a health professional if in doubt.