Easy Roast Beef Sliders – Perfect Party Bites
Roast Beef Sliders are an absolute crowd-pleaser, and for good reason! There’s something inherently delightful about taking a classic, hearty meal like roast beef and miniaturizing it into perfectly portioned, bite-sized sliders. These aren’t just miniature sandwiches; they’re little flavor explosions packed with tender, savory roast beef, often nestled between soft slider buns with a medley of complementary toppings. We love roast beef sliders because they offer all the comforting satisfaction of a full roast beef dinner without the fuss, making them ideal for game days, casual gatherings, or even a fun weeknight meal. What truly makes these roast beef sliders special is their versatility – you can customize them with your favorite cheeses, sauces, and even a sprinkle of caramelized onions to elevate them from good to absolutely unforgettable. Get ready to impress your guests (or just treat yourself!) with these irresistible creations.
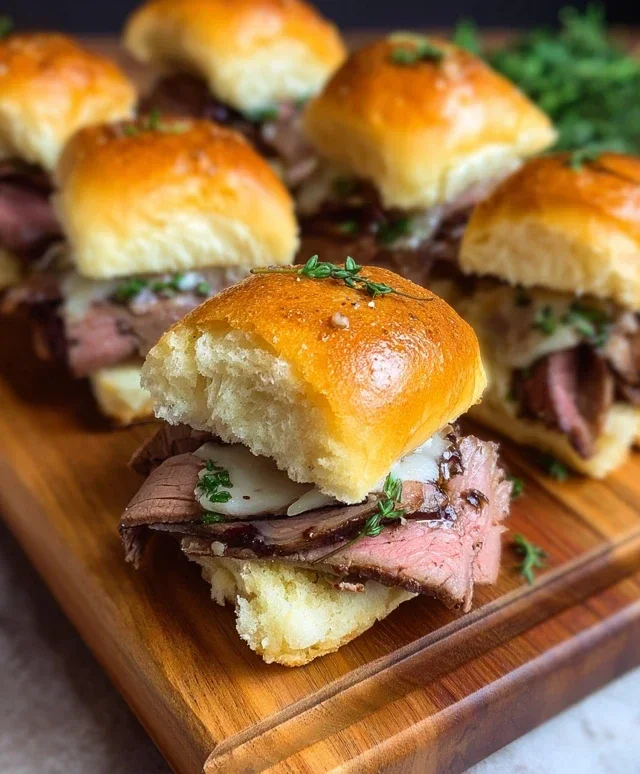
Roast Beef Sliders: The Ultimate Crowd-Pleaser
There are few things more satisfying than a perfectly crafted slider, and these Roast Beef Sliders are guaranteed to be a hit at any gathering. Whether you’re hosting a game day party, a casual get-together, or simply looking for an elevated weeknight meal, these little flavor bombs deliver big. We’re talking tender roast beef, melty cheese, and sweet, caramelized onions, all nestled within soft, pillowy slider buns. The secret to their irresistible charm lies in the simple yet effective layering of flavors and textures. Forget dry, boring sandwiches; these sliders are juicy, savory, and bursting with deliciousness. Let’s get cooking!
Ingredients:
Caramelizing the Onions: The Flavor Foundation
The soul of these sliders truly comes alive with perfectly caramelized onions. This isn’t a process to rush; patience is key to unlocking their inherent sweetness and depth of flavor. Start by slicing your four large onions. Aim for relatively thin, even slices so they cook uniformly. Place a large skillet over medium-low heat. Add the 3 tablespoons of unsalted butter. Once the butter has melted and begin extracts to shimmer, add your sliced onions. Stir them around to coat evenly in the butter. The goal here is to cook the onions slowly, allowing them to soften and release their sugars without burning. This can take anywhere from 20 to 40 minutes, depending on your stovetop and the thickness of your onion slices. You’ll want to stir them occasionally, scraping up any bits that might stick to the bottom of the pan. As they cook down, they’ll turn a beautiful golden-brown color and develop a wonderfully sweet aroma. Don’t be tempted to crank up the heat; low and slow is the mantra for caramelization.
Building the Flavor Profile
Once your onions have reached that lovely caramelized stage, it’s time to add a few more flavor boosters. Add the 2 cloves of finely minced garlic to the skillet with the onions. Stir it in and cook for about one minute until fragrant. Be careful not to burn the garlic, as this can turn it bitter. Next, introduce the rosemary. If you’re using fresh rosemary, finely chop it before adding it to the pan. The heat will release its aromatic oils, infusing the onions with its distinctive piney notes. Stir everything together and cook for another minute or two, allowing the flavors to meld. Remove the caramelized onion mixture from the skillet and set it aside in a bowl. This mixture is pure gold for your sliders!
Preparing the Slider Buns and Butter Mixture
Now, let’s get those slider buns ready to soak up all that deliciousness. Slice your 12 slider rolls horizontally, essentially creating a top and bottom bun for each. You can do this with a serrated knife, which is usually best for soft rolls. Don’t separate the buns completely if they’re connected; it’s often easier to keep them in their origin extractal clusters for this step. In a small bowl, combine the ¼ cup of melted unsalted butter with the 1 teaspoon of mustard powder and 1 teaspoon of garlic powder. Whisk this together until well combined. This butter mixture will add a savory kick and a lovely richness to the buns.
Assembling and Baking the Sliders
This is where everything comes together! Lay the bottom halves of your slider buns in a 9×13 inch baking dish. Generously spoon the caramelized onion and rosemary mixture evenly over the bottom buns. Make sure you distribute it well so every slider gets a good amount of this sweet, savory goodness. Now, it’s time for the roast beef. Layer the thinly sliced deli roast beef generously over the onions. Don’t be shy; you want a good amount of beef in each slider. Drape it or bunch it up slightly to create some height. Next, lay the slices of white cheese (Havarti, Provolone, or Swiss) over the roast beef. You can tear the cheese slices if needed to ensure good coverage. Finally, place the top halves of the slider buns over the cheese. Brush the tops of the buns liberally with the prepared garlic-mustard butter mixture. This will help them brown beautifully and add another layer of flavor.
The Final Bake and Serving
Preheat your oven to 350 degrees Fahrenheit (175 degrees Celsius). Cover the baking dish tightly with aluminum foil. This is crucial to ensure the buns steam and soften, and the cheese melts thoroughly without the tops of the buns burning. Bake for about 15-20 minutes, or until the cheese is completely melted and gooey. After this initial baking period, remove the foil and bake for an additional 5-7 minutes, or until the tops of the buns are golden brown and slightly toasted. This extra time allows for a lovely crisp on the bun tops. Once out of the oven, let the sliders rest for a few minutes before carefully cutting them into individual servings, if they are still connected. Sprinkle with the chopped fresh parsley (or dried parsley) for a touch of freshness and color just before serving. These Roast Beef Sliders are best served warm and are perfect for dipping into your favorite sauce, like a horseradish cream or a tangy BBQ sauce. Enjoy the deliciousness!
Conclusion:
There you have it! My incredibly easy and utterly delicious Roast Beef Sliders recipe. These sliders are a guaranteed crowd-pleaser, perfect for game days, casual get-togethers, or even a fun weeknight dinner. The tender roast beef, combined with your favorite toppings and nestled in soft slider buns, creates a flavor explosion that’s both satisfying and delightfully messy. I love how versatile they are – you can customize them endlessly to suit your palate.
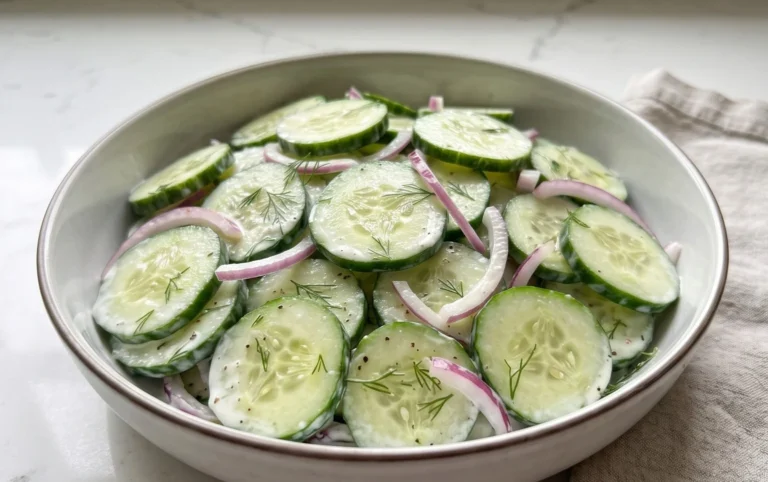
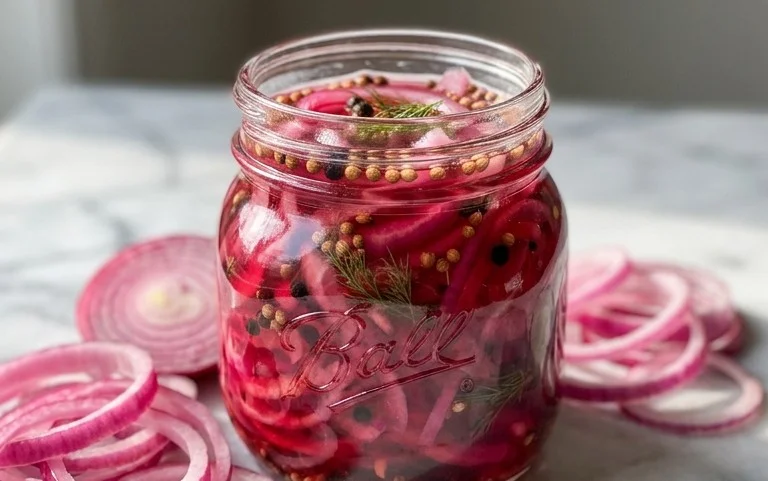
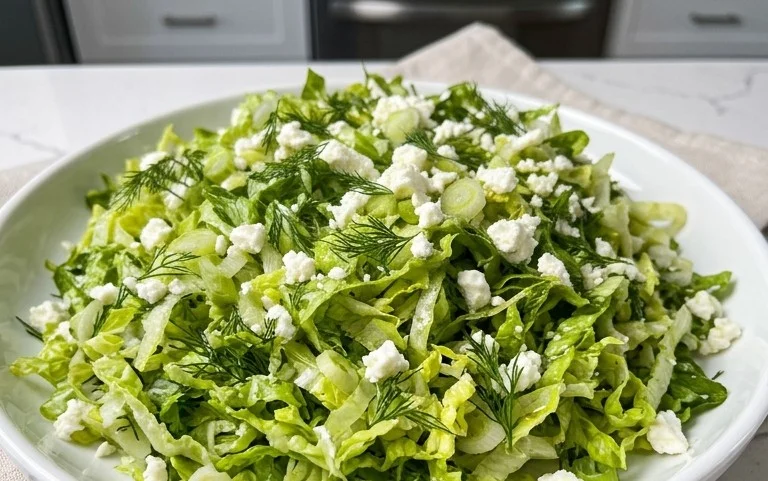
For serving, I suggest pairing these roast beef sliders with a crisp coleslaw, some crispy oven fries, or a refreshing cucumber salad. They also make a fantastic appetizer, just make sure to have plenty because they go quickly! Don’t be afraid to experiment with variations. Try adding caramelized onions for a touch of sweetness, a spicy horseradish sauce for a kick, or even a slice of sharp cheddar cheese for extra richness. Seriously, give these a try; you won’t regret it!
Frequently Asked Questions:
Q: Can I use pre-sliced deli roast beef for these sliders?
Absolutely! While using leftover roast beef is fantastic, good quality deli roast beef works wonderfully for these sliders. Just make sure to get a thicker cut for the best texture.
Q: What kind of buns are best for roast beef sliders?
Soft slider buns, like Hawaiian rolls or potato slider buns, are ideal as they complement the tender beef and hold up well to fillings. Brioche buns also offer a lovely richness.
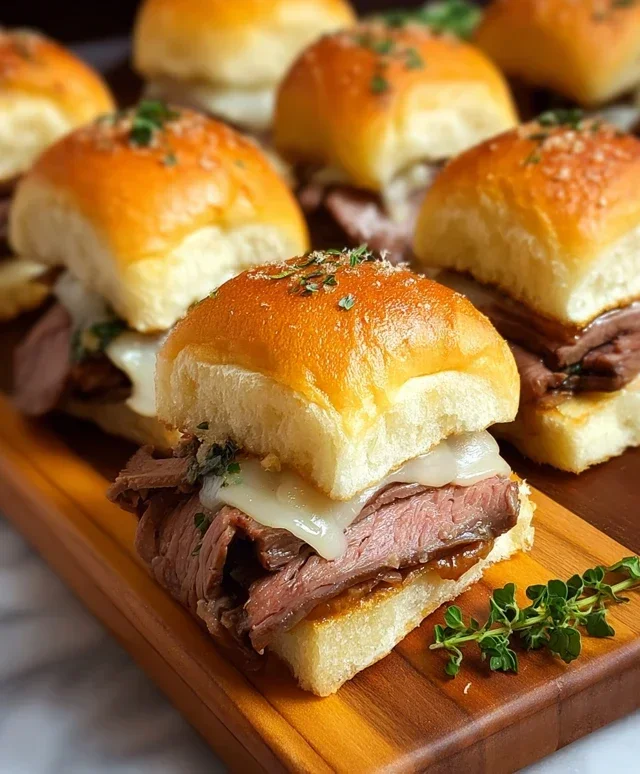
Roast Beef Sliders
Savory roast beef sliders with caramelized onions and melted cheese, perfect for any gathering.
Ingredients
-
12 slider rolls (e.g., King’s Hawaiian, dinner rolls, or slider buns)
-
1 ½ pounds deli roast beef, thinly sliced or shaved
-
4-6 slices white cheese (e.g., Havarti, Provolone, or Swiss cheese)
-
3 tablespoons unsalted butter
-
4 large onions, sliced
-
2 cloves garlic, finely minced
-
1 tablespoon fresh rosemary, chopped (or ½ tablespoon dried rosemary)
-
¼ cup unsalted butter, melted
-
1 teaspoon mustard powder
-
1 teaspoon garlic powder
-
1 tablespoon parsley, chopped (or ½ tablespoon dried parsley)
Instructions
-
Step 1
Melt 3 tablespoons of butter in a large skillet over medium heat. Add sliced onions and cook, stirring occasionally, until softened and lightly browned, about 15-20 minutes. -
Step 2
Add minced garlic and chopped rosemary to the skillet with the onions. Cook for another 1-2 minutes until fragrant. Remove from heat and set aside. -
Step 3
Slice the slider rolls in half horizontally. -
Step 4
In a small bowl, combine the melted butter with mustard powder, garlic powder, and chopped parsley. Brush this mixture over the cut sides of the slider rolls. -
Step 5
Place the bottom halves of the rolls on a baking sheet. Layer the roast beef evenly over the bottom halves, followed by the caramelized onion mixture and then the cheese slices. -
Step 6
Place the top halves of the rolls over the cheese. Cover the baking sheet tightly with foil. -
Step 7
Bake in a preheated oven at 350°F (175°C) for 15-20 minutes, or until the cheese is melted and the sliders are heated through. Remove foil for the last 5 minutes if you prefer a crispier top. -
Step 8
Slice the sliders and serve immediately.
Important Information
Nutrition Facts (Per Serving)
It is important to consider this information as approximate and not to use it as definitive health advice.
Allergy Information
Please check ingredients for potential allergens and consult a health professional if in doubt.