Watermelon Cherry Berry Beet Juice- Refreshing & Healthy
Watermelon Cherry Berry Beet Juice is more than just a vibrant concoction; it’s a liquid celebration of summer’s finest flavors and a powerhouse of health benefits. If you’re looking for a way to refresh your palate and invigorate your body, this juice is an absolute game-changer. People are absolutely falling in love with this delightful blend because it strikes that perfect balance between sweet, tart, and earthy, without any cloying aftertaste. What makes this Watermelon Cherry Berry Beet Juice truly special is its incredible versatility – it’s perfect as a post-workout revitalizer, a breakfast boost, or a delightful afternoon pick-me-up. Plus, the stunning ruby-red hue is as visually appealing as it is nutritious, making it a fantastic addition to any healthy lifestyle. Get ready to discover your new favorite guilt-free indulgence!
Ingredients:
Crafting Your Refreshing Watermelon Cherry Berry Beet Juice
There’s something truly magical about a vibrant, nutrient-packed juice that not only tastes incredible but also makes you feel amazing from the inside out. This Watermelon Cherry Berry Beet Juice is one of those elixirs. It’s a symphony of sweet, tart, and earthy flavors, bursting with antioxidants, vitamins, and minerals. Whether you’re looking for a morning pick-me-up, a post-workout recovery drink, or simply a delicious way to sneak in some extra veggies, this juice is an absolute winner. The combination of watermelon’s hydrating sweetness, the tartness of cherries and berries, and the grounding earthiness of beets creates a perfectly balanced and invigorating beverage. Don’t be intimidated by the beet; when combined with these other bright fruits, its flavor becomes wonderfully mellow and adds an incredible depth of color and nutrition without being overpowering.
This recipe is designed to be incredibly straightforward, requiring minimal effort and equipment. The key is to use fresh, high-quality ingredients to unlock the best possible flavor and nutritional profile. The colors alone are enough to brighten any day, and the taste will leave you feeling revitalized and nourished. I love making a big batch of this on a Sunday to have on hand for the week, as it stores well in the refrigerator. It’s a fantastic way to ensure I’m getting a concentrated dose of goodness even on my busiest days. Plus, it’s so much more satisfying and rewarding to make your own juice than to buy a pre-made version filled with unwanted additives and preservatives. So, let’s get juicing!
Preparation is Key
Before we dive into the juicing process itself, a little bit of preparation will ensure everything runs smoothly. This is where we get our ingredients ready to go into the juicer.
1. Prepare the Beets: For the beets, I like to start by giving them a good scrub under cold running water to remove any dirt. Since we’re juicing them, peeling isn’t strictly necessary, especially if they are small and organic. However, if your beets have a thick or tough skin, or if you’re concerned about any residual dirt, you can peel them using a vegetable peeler or a sharp knife. Once clean (and peeled, if you choose), I cut them into manageable chunks that will fit easily into the chute of my juicer. Aim for pieces that are roughly 1-2 inches in size. This makes the juicing process more efficient and prevents any potential jamming. If you’re using larger beets, you might want to cut them into smaller pieces.
2. Prepare the Watermelon: For the watermelon, whether you’re using a quarter of a baby watermelon or 2 cups of any other variety, the main task is to remove the rind and any large seeds. If you’re using a wedge, simply cut the flesh away from the rind. For a baby watermelon, cutting it into quarters or halves and then scooping out the flesh is often the easiest approach. Once you have the watermelon flesh, you can cut it into cubes or chunks that will fit into your juicer. Watermelon is mostly water, so it juices beautifully and adds a wonderful sweetness and hydration to the final blend. Don’t worry too much about removing every single tiny seed; most juicers will handle them without issue, or you can strain them out later if you prefer a super-smooth texture.
3. Prepare the Berries and Cherries: Next, let’s get the mixed berries and cherries ready. I typically use a mix of strawberries, red currants, and raspberries for their vibrant color and complementary flavors. For the strawberries, I like to remove the green tops (hulking them). If the strawberries are particularly large, you can cut them in half or quarters. The red currants and raspberries can usually go in as they are, assuming they’ve been rinsed well. For the pitted cherries, ensure all the pits have been removed. Pits can damage your juicer and are not enjoyable in juice, so this step is crucial. You can easily pit cherries using a cherry pitter or by carefully using the tip of a paring knife. Rinse all your berries and cherries thoroughly under cool water and gently pat them dry.
The Juicing Process
Now comes the fun part – turning all these beautiful ingredients into a luscious juice!
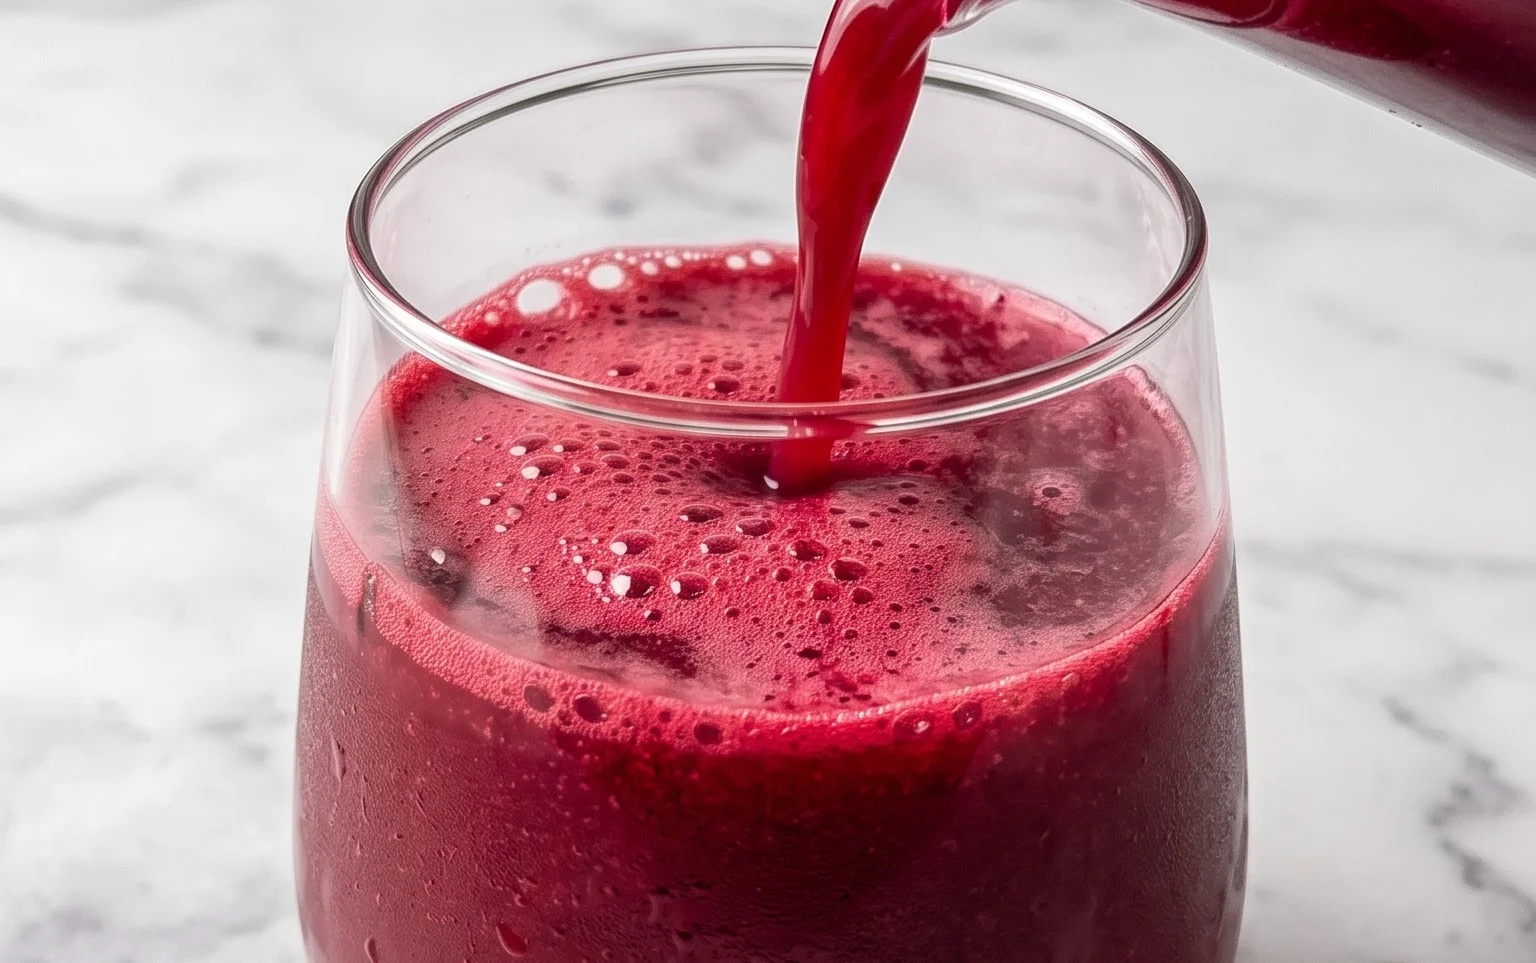
4. Juice the Ingredients: Begin extract by feeding the prepared ingredients into your juicer according to the manufacturer’s instructions. I often find it works best to alternate between the harder ingredients like the beets and the softer fruits like the watermelon and berries. This helps to push everything through the juicer more effectively and prevents the softer items from getting stuck. Start with the beets, then follow with some watermelon, then a handful of berries and cherries, and continue this alternating pattern until all your ingredients are processed. As the juice flows into your collection container, you’ll witness the most incredible, deep ruby-red hue developing – a testament to the goodness within. If your juicer has a pulp collector, make sure to empty it periodically if it gets full.
5. Strain and Serve (Optional but Recommended): Once all the ingredients have been juiced, you’ll have a beautiful, vibrant liquid. While some juicers produce a very smooth juice, I personally prefer to give it an extra strain for a velvety texture, especially with the berry seeds. You can do this by pouring the juice through a fine-mesh sieve set over a pitcher or bowl. Use a spoon or a spatula to gently press down on the pulp to extract as much liquid as possible. Discard the pulp (or save it for composting or adding to baked goods if you wish!). Pour the strained juice into glasses. For the ultimate refreshing experience, I love to serve it chilled. You can add a few ice cubes to your glasses if you like, or simply chill the juice in the refrigerator for at least 30 minutes before serving. Garnish with a fresh mint sprig or a slice of lime if you’re feeling fancy. Enjoy this invigorating and incredibly healthy juice immediately for the best flavor and nutrient absorption.
Conclusion:
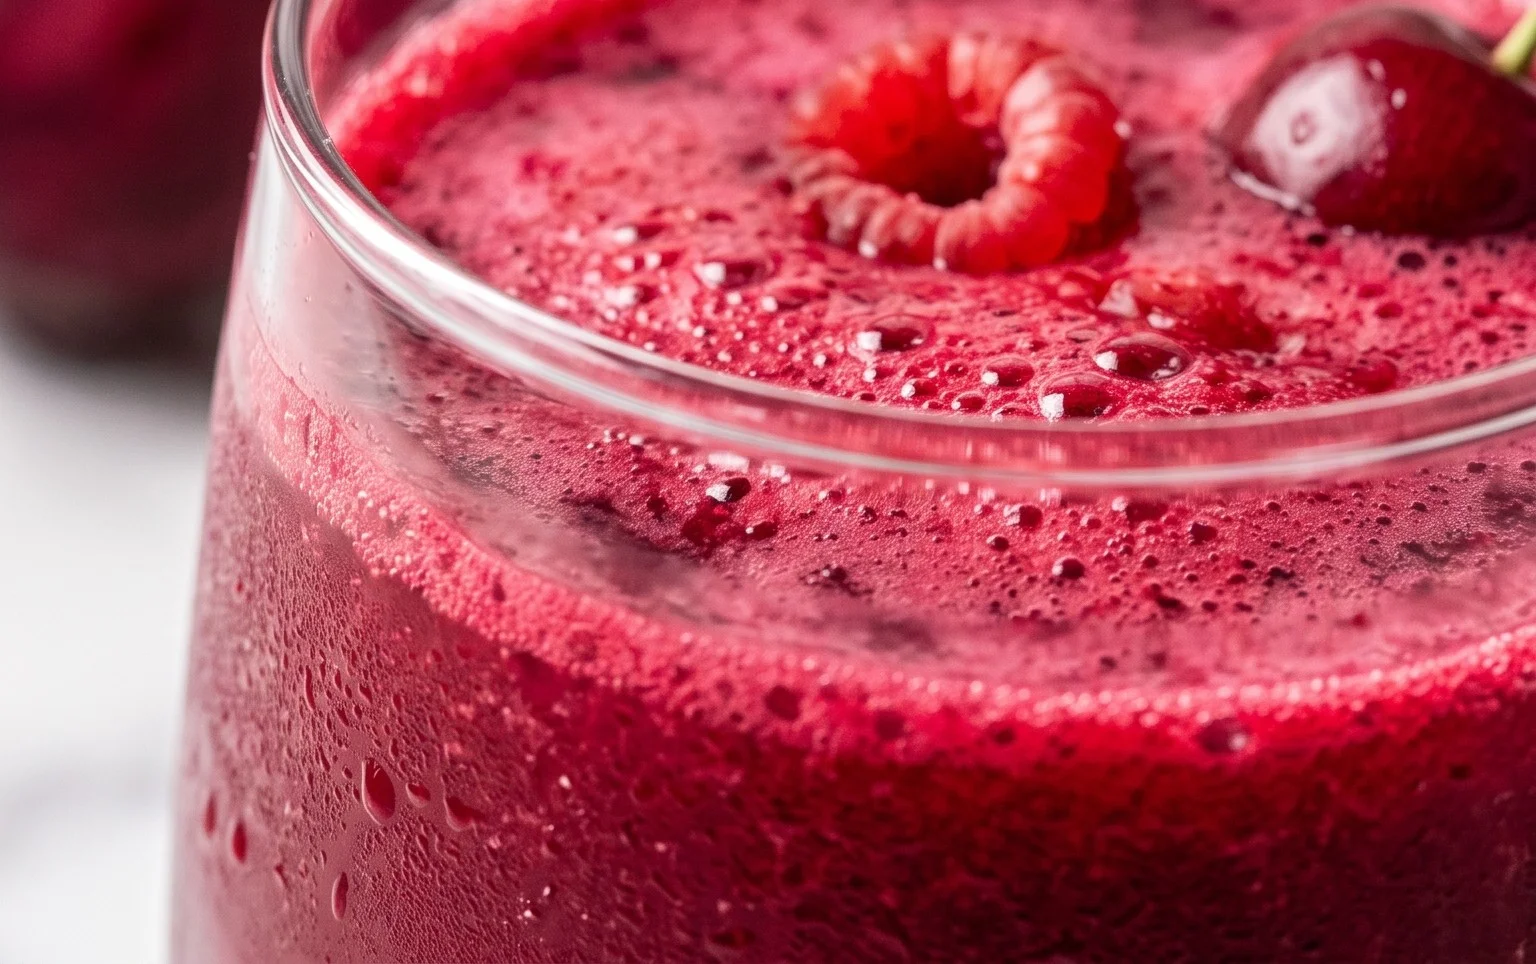
There you have it! This Watermelon Cherry Berry Beet Juice is an absolute powerhouse of flavor and nutrition. Its vibrant color is just the begin extractning; the blend of sweet watermelon, tart cherries, luscious berries, and earthy beets creates a remarkably refreshing and invigorating drink. It’s the perfect way to kickstart your morning, refuel after a workout, or simply enjoy a delicious and healthy treat any time of day. I’ve found it to be a fantastic way to sneak in extra servings of fruits and vegetables without even realizing it!
Feel free to serve this delightful juice chilled over ice for an extra crisp sensation. It also makes a fantastic base for smoothies, or you can even use it in mocktails or cocktails for a beautiful and healthy twist. For variations, don’t be afraid to experiment! Add a squeeze of lime or lemon for extra zing, a few sprigs of mint for a cooling effect, or even a touch of gin extractger for a spicy kick. This Watermelon Cherry Berry Beet Juice is incredibly versatile, so have fun and make it your own! I truly encourage you to give this recipe a try; I’m confident you’ll fall in love with its incredible taste and the way it makes you feel.
Frequently Asked Questions:
Can I make this juice ahead of time?
Yes, you absolutely can! This Watermelon Cherry Berry Beet Juice can be made up to 2-3 days in advance and stored in an airtight container in the refrigerator. It’s best to shake or stir it well before serving, as some separation may occur. The flavor might even deepen slightly over a day or two, which many people enjoy.
What if I don’t have a juicer? Can I still make this?
Absolutely! If you don’t have a juicer, you can achieve a similar result by blending all the ingredients (minus any added liquid if they’re very juicy) in a high-powered blender until completely smooth. Then, strain the mixture through a fine-mesh sieve or cheesecloth to remove the pulp. It might be a bit thicker, but it will still be delicious and packed with nutrients!
Watermelon Cherry Berry Beet Juice
A refreshing and nutritious juice made with watermelon, cherries, mixed berries, and beets.
Ingredients
-
2 small beets
-
¼ baby watermelon (or 2 cups of any watermelon)
-
1 ½ cups mixed berries (strawberries, red currants, and raspberries)
-
½ cup pitted cherries
-
1 cup cold water
-
1 tablespoon lemon juice
Instructions
-
Step 1
Wash and peel the beets. Chop them into manageable pieces. -
Step 2
Cube the watermelon, removing any seeds. -
Step 3
Wash the mixed berries and pit the cherries. -
Step 4
Add the chopped beets, watermelon, mixed berries, and pitted cherries to a blender or juicer. -
Step 5
Add the cold water and lemon juice to the blender. -
Step 6
Blend on high speed until smooth and well combined. If using a juicer, follow the manufacturer’s instructions. -
Step 7
Strain the juice through a fine-mesh sieve for a smoother consistency, if desired. Press down on the solids to extract as much liquid as possible. -
Step 8
Serve immediately over ice. Enjoy!
Important Information
Nutrition Facts (Per Serving)
It is important to consider this information as approximate and not to use it as definitive health advice.
Allergy Information
Please check ingredients for potential allergens and consult a health professional if in doubt.