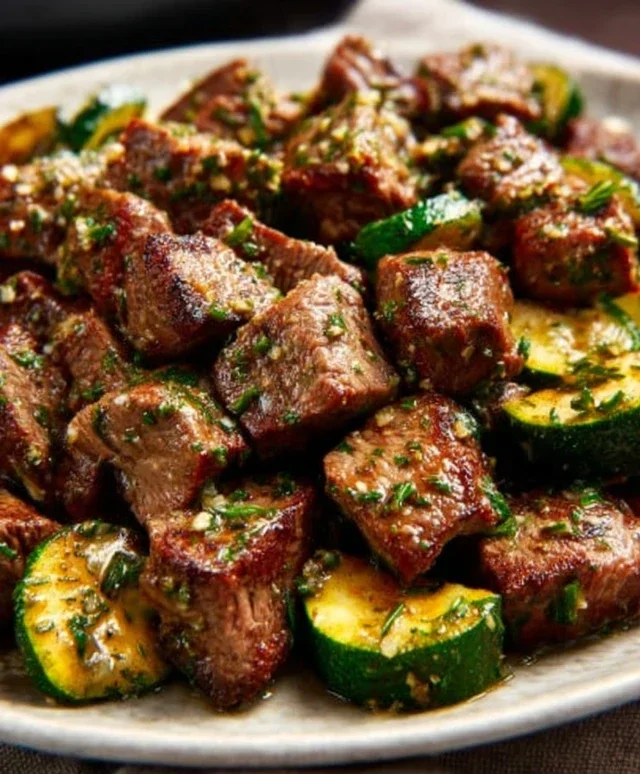
Crispy Baked Zucchini Chips-Easy Healthy Snack
Crispy baked zucchini chips are about to become your new favorite way to enjoy a bountiful harvest, or just a healthier alternative to your usual snack attack. Forget soggy, oily fried versions; these beauties are light, airy, and shatteringly crisp, proving that healthy can be absolutely delicious. What’s not to love about them? They’re incredibly simple to make, requiring just a few pantry staples and that humble summer squash. The magic lies in the perfect balance of thin slicing, a light coating, and the dry heat of the oven, transforming ordinary zucchini into a crave-worthy treat. These crispy baked zucchini chips are perfect for dipping, sharing (if you can resist eating them all yourself!), or simply enjoying as a guilt-free indulgence. They’re a revelation, I promise you!

Crispy Baked Zucchini Chips
Are you looking for a healthy, delicious, and ridiculously easy snack? Then you absolutely have to try these crispy baked zucchini chips! Forget the greasy fried versions; these baked beauties offer all the crunch and flavor you crave with a fraction of the guilt. They’re perfect for munching on their own, serving as a side dish, or even as a delightful topping for salads and soups. I love making a big batch and having them ready whenever a snack attack strikes. The best part? They use simple, fresh ingredients you probably already have in your kitchen. Let’s get started!
Ingredients:
Instructions:
Preparation is Key for Crispiness
The first and most crucial step in achieving truly crispy zucchini chips is proper preparation of the zucchini. After washing your medium zucchini, it’s absolutely vital to get it thoroughly dry. Moisture is the enemy of crispiness, so I like to use paper towels to pat it down as much as possible. Excess water will steam the zucchini instead of baking it, resulting in a soggy chip. Once it’s dry, we need to slice it thinly. A mandoline slicer is your best friend here. It ensures incredibly uniform slices, which is essential for even baking and consistent crispiness. Aim for slices that are about 1/16 to 1/8 inch thick. If you don’t have a mandoline, a very sharp knife and a steady hand will work, but be patient and try to make them as thin and even as possible. Thicker slices will take longer to crisp up and might still retain some softness.
Seasoning for Flavor and Texture
Now that our zucchini is prepped and sliced, it’s time to get them seasoned. In a medium bowl, we’ll combine our olive oil and all our dried seasonings. This creates a flavorful coating that not only adds delicious taste but also helps the chips crisp up beautifully in the oven. Add the 1 tablespoon of olive oil, ½ teaspoon of kosher salt, ½ teaspoon of black pepper, ¼ teaspoon of onion powder, and ½ teaspoon of paprika to the bowl. Whisk this mixture together until well combined. Then, carefully add your thinly sliced zucchini to the bowl. Using your hands is the best way to ensure each slice is evenly coated. Gently toss the zucchini slices in the seasoned oil, making sure every piece gets a light and even coating. Don’t let them sit in the oil for too long, as they can start to soften again. We want to get them onto the baking sheet promptly.
Arrangin extractg for Optimal Baking
This next step is critical for ensuring your zucchini chips bake evenly and become wonderfully crispy. You’ll need a large baking sheet, and I highly recommend lining it with parchment paper or a silicone baking mat. This prevents the chips from sticking and makes for an easy cleanup. Now, arrange your seasoned zucchini slices in a single layer on the prepared baking sheet. This is where uniformity really pays off. Try not to overlap the slices at all. If you overcrowd the baking sheet, the zucchini will steam instead of bake, and you’ll end up with soggy chips. If necessary, use two baking sheets. Make sure there’s a little bit of space between each chip so the hot air can circulate around them, promoting even crisping. I often find myself gently pressing down on each slice with a paper towel one last time before they go into the oven, just to remove any excess oil or moisture.
The Baking Process for Perfect Crispiness
We’re almost there! Now it’s time to bake these little flavor bombs. Preheat your oven to 400°F (200°C). This higher temperature is key to getting that satisfying crunch. Carefully place the baking sheet(s) into the preheated oven. The baking time can vary depending on your oven and the thickness of your zucchini slices, but typically it will take between 15 to 25 minutes. You’ll want to keep a close eye on them, especially towards the end of the baking time. After about 10-12 minutes, I like to carefully flip the zucchini chips using a spatula. This ensures that both sides get beautifully browned and crispy. Continue baking until the edges are golden brown and the chips are firm to the touch. They will continue to crisp up even more as they cool. If some chips are crisping faster than others, you can carefully remove them from the baking sheet and let the rest continue to bake.
Cooling and Enjoying Your Creation
Once your zucchini chips are perfectly golden and feel wonderfully crisp, it’s time to let them work their magic by cooling. Remove the baking sheet from the oven and let the chips cool completely on the baking sheet. Resist the temptation to eat them piping hot – they’ll be much crispier once they’ve had a chance to settle down. As they cool, they will continue to harden and develop that irresistible crunch. Once they are completely cool, you can carefully transfer them to an airtight container. They are best enjoyed within a day or two for maximum crispiness. Store them at room temperature. If they happen to lose some of their crispness, you can always pop them back into a slightly warm oven (around 200°F or 95°C) for a few minutes to revive them. These homemade zucchini chips are a fantastic healthy snack that I know you’ll love as much as I do. Enjoy!

Conclusion:
I hope you’re as excited as I am to give these Crispy Baked Zucchini Chips a try! They truly are a revelation – a simple, healthy, and incredibly satisfying way to enjoy zucchini. Forget soggy, bland vegetables; these chips offer a delightful crunch that rivals any store-bought snack, all without the deep-frying fuss. They’re perfect for satisfying those salty snack cravings in a guilt-free manner, and the ease of preparation means you can whip them up whenever the mood strikes.
These versatile chips are fantastic on their own, but they also shine as a side dish for sandwiches, wraps, or burgers. Consider serving them with your favorite dips like ranch, hummus, or a spicy aioli for an extra flavor explosion. For variations, don’t hesitate to experiment with your spice blends! Smoked paprika adds a wonderful depth, garlic powder is always a winner, and a pinch of cayenne can give them a little kick. You can also try adding a sprinkle of Parmesan cheese in the last few minutes of baking for an even more indulgent treat. So, go ahead, grab some zucchini, and get baking! I’m confident you’ll love how simple and delicious these crispy delights are.
Frequently Asked Questions about Crispy Baked Zucchini Chips:
How do I ensure my zucchini chips are truly crispy and not soggy?
The key to crispy baked zucchini chips is to slice them thinly and evenly, and most importantly, to pat them thoroughly dry with paper towels after rinsing. Removing as much moisture as possible before baking is crucial. Also, avoid overcrowding the baking sheet; give them space so the air can circulate.
Can I make these ahead of time?
While they are best enjoyed fresh out of the oven for maximum crispiness, you can bake them a few hours in advance. Store them in a single layer on a wire rack at room temperature. If they lose some crispness, you can briefly pop them back into a low oven (around 200°F / 95°C) for a few minutes to revive them.
What if I don’t have a mandoline slicer?
No problem at all! While a mandoline offers the most consistent slices, a sharp knife and a steady hand will work just fine. Aim for slices that are about 1/8 to 1/16 of an inch thick. It might take a little more time, but the results will still be delicious!
Crispy Baked Zucchini Chips
Thinly sliced zucchini baked until perfectly crispy and seasoned for a delicious and healthy snack.
Ingredients
-
1 medium zucchini (washed and dried)
-
1 tablespoon olive oil
-
½ teaspoon kosher salt
-
½ teaspoon black pepper
-
¼ teaspoon onion powder
-
½ teaspoon paprika
Instructions
-
Step 1
Preheat your oven to 400°F (200°C) and line a baking sheet with parchment paper. -
Step 2
Slice the zucchini very thinly, about 1/16 to 1/8 inch thick. A mandoline slicer is recommended for uniform thickness. -
Step 3
In a medium bowl, toss the zucchini slices with olive oil, ensuring each slice is lightly coated. -
Step 4
In a small bowl, combine the kosher salt, black pepper, onion powder, and paprika. -
Step 5
Sprinkle the spice mixture evenly over the oiled zucchini slices, tossing gently to distribute. -
Step 6
Arrange the zucchini slices in a single layer on the prepared baking sheet, making sure they do not overlap. -
Step 7
Bake for 15-20 minutes, flipping halfway through, until the chips are golden brown and crispy. -
Step 8
Let cool slightly on the baking sheet before serving.
Important Information
Nutrition Facts (Per Serving)
It is important to consider this information as approximate and not to use it as definitive health advice.
Allergy Information
Please check ingredients for potential allergens and consult a health professional if in doubt.